In this tutorial we will learn about the Relative Layout In Android Studio With Some Real Examples. Relative Layout is a parent layout which contains child layout inside itself.

What is a Relative Layout In Android Studio?
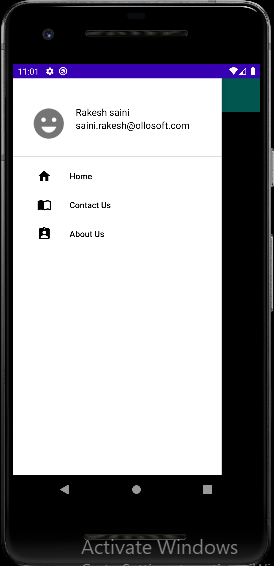
Relative Layout is a View group that displays its view in relative position to each other. The position can be specified as left, right, top or bottom relative to other view. As shown in the below image.

Relative Layout is very powerful layout to build UI designs because it eliminates the nested view group and keep layouts hierarchy. This can be improve your design performance. If you are using many Linear Layout to build any design then you can use Relative Layout instead those layout.
Attributes Of Relative Layout
Below are the attributes of Relative Layout.
android:layout_above – This attribute is use when we want to place any view to above of another view. We have to provide the id of another view above which we want to place the view.
android:layout_below – It is used to display the view below of the another view.
android:layout_toLeftOf – This attribute is used to display any view to left of another view by providing the id of that view.
android:layout_toRightOf – This attribute displays the view to the right position of other view.
android:layout_toEndOf – Positions the start edge of the view to the end of the given anchor view ID.
android:layout_centerInParent – This takes boolean value either “true” or “false”. If true, the child view become vertically and horizontally center.
android_layout_centerHorizontal – If it is true then the child layout become horizontally center of the parent layout.
android_layout_centerVertical – If it is true then the child layout will be vertically center to the parent layout.
android:layout_alignParentLeft – If you make it true the child view touches the left edge of the parent view.
android:layout_alignParentRight – If it is true the child view will touch the right edge of the parent view.
android:layout_alignParentBottom – It also takes boolean value either “true” or “false”. If you provide true then the child layout will touch the bottom edge of the parent layout.
For details about all the attributes available to each child view of a Relative Layout, See RelativeLayout.LayoutParams.
Thank you for visiting the tutorial on FlutterTPoint. For any doubt and issue you can comment in the comment section below. Please visit more Android Useful Tutorial which can improve your development skills.
Suggestions:
Linear Layout In Android Studio
Relative Layout in Android Studio With Examples
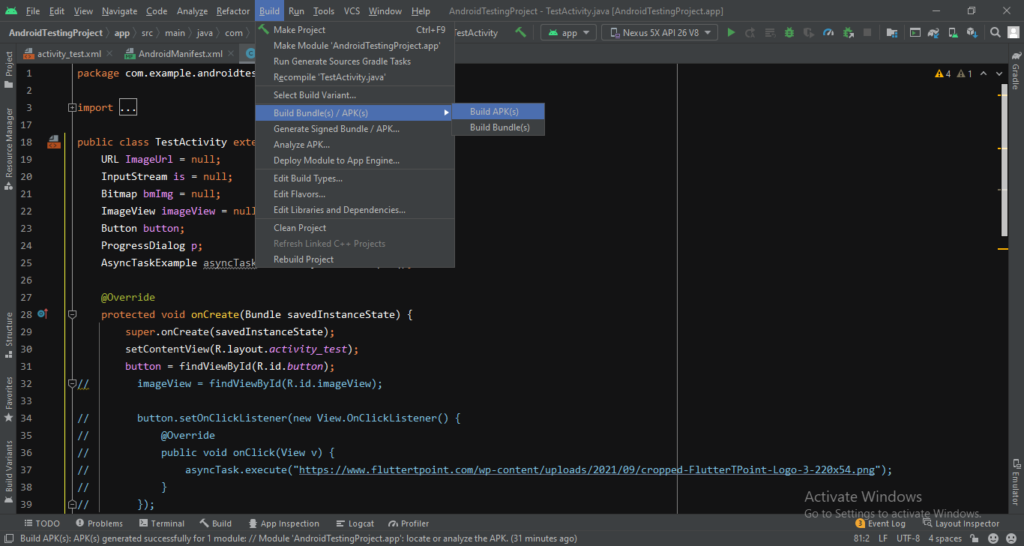
How to generate android debug apk for testing the app
CardView In Android Studio With Examples
Android Splash Screen Full Example
SQLITE Database In Android Studio Example
What is WebView In Android Studio
Pull To Refresh In Android Studio
Opening Camera In Android Studio Examples
Tabs In Android Studio Example
Intent In Android Studio With Examples
Creating Rounded Corner Button In Android Studio
Full Screen VideoView In Android Studio Example
Auto Image Slider In Android Studio Example
Recyclerview in android Complete Example
Android DataBinding Example | Enable Data Binding in Android
Bottom Navigation Bar In Android
Navigation Drawer In Android Studio With Example | FlutterTPoint
Why String are immutable in Java Full Explanation