Widgets are building components in flutter which is used to design the component. Widgets are the main block in flutter. You have to start any class by using the stateless or stateful widget.

Flutter Widgets
Everything we needed to design in flutter is designed using the widgets. Widgets can be visible or invisible. These are rendered with each other. These are nested with each other, which means the parent component is also a widget.

In the above image you can see that the main component is also a widget. The child widgets are nested inside the root widgets.
Types of widgets in flutter.
Widgets are basically two types which are below. Visible and Invisible

1. Visible Widgets
Visible Widgets are those widgets which can be visible for anyone. These are like Text, Image, Icons and more which are below.
- Text
- Image
- Icon
- Button
- Input Fields
Text()
To make a text Widget in Flutter Just use the Text() tag and provide the string inside it as below.
Text("Title",),How to Style Text Widget in Flutter
To style the text use the style property inside the Text widget after the string.
                         Text(
                              "Title",
                              style: TextStyle(
                                  fontSize: 18,
                                  color: Colors.black,
                                  fontWeight: FontWeight.w500,
                                  fontFamily: "Times_Roman"),
                            ),
Image in Flutter
To insert the image from the local storage or for the hardcoded image, You have to first create an assets folder in the root directory. And define that root directory inside the pubspec.yml file like below. Put all your images inside this assets folder.
flutter:
  assets:
    - assets/images/
Using AssetImage in Flutter
After defining the assets folder in the pubcpec.yml folder now you can directory use the images from the assets folder like below.
ImageIcon(AssetImage("assets/images/love.png"), color: Colors.white,),Icons in Flutter
To use the icon in flutter you can use the Icon widget as follows.
Icon(Icons.comment, color: Colors.white,),
Network Image in Flutter
To load the image from the URL or from the web internet, You the Network() Widget as below. Put the string of the URL inside the Network().
ImageIcon(
  NetworkImage(
      "https://cdn-icons-png.flaticon.com/512/1177/1177568.png"),
  size: 54,
),
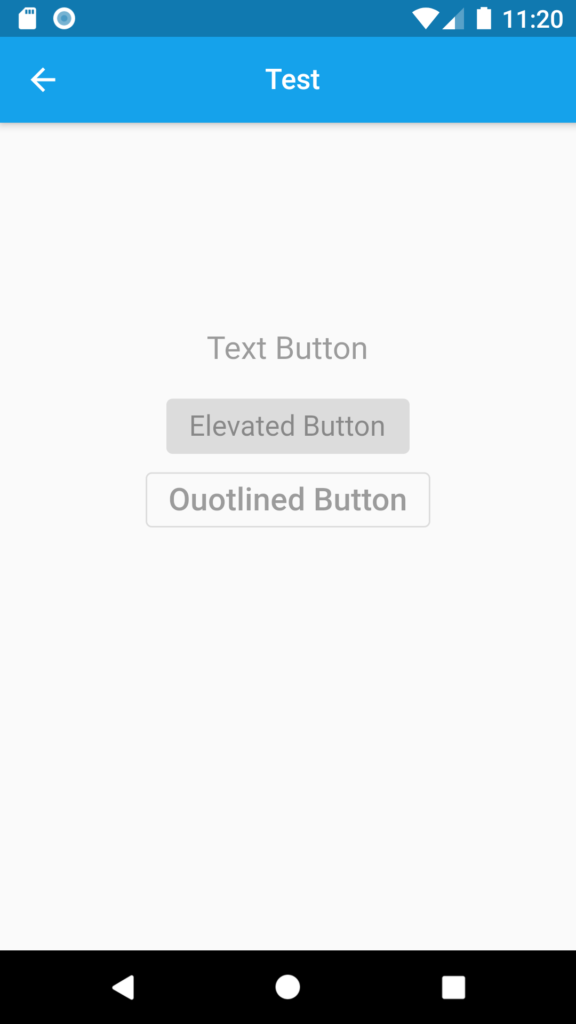
Button Widgets In Flutter
Buttons are the navigation Widgets in the flutter app. To navigate the another class or screen or to call something we needed to create the the button and the call or navigate the desire process on onClick() or onPress() function. See more about Buttons in Flutter.
A Simple Elevated Button is below-
ElevatedButton(
  style: ElevatedButton.styleFrom(
      primary: Colors.green,
      shadowColor: Colors.black38,
      elevation: 10,
      textStyle:
      TextStyle(fontSize: 18, color: Colors.blue)),
  onLongPress: null,
  onPressed: null,
  child: Text(
    "Simple Elevated Button",
  ),
),
InputFields Widgets In Flutter
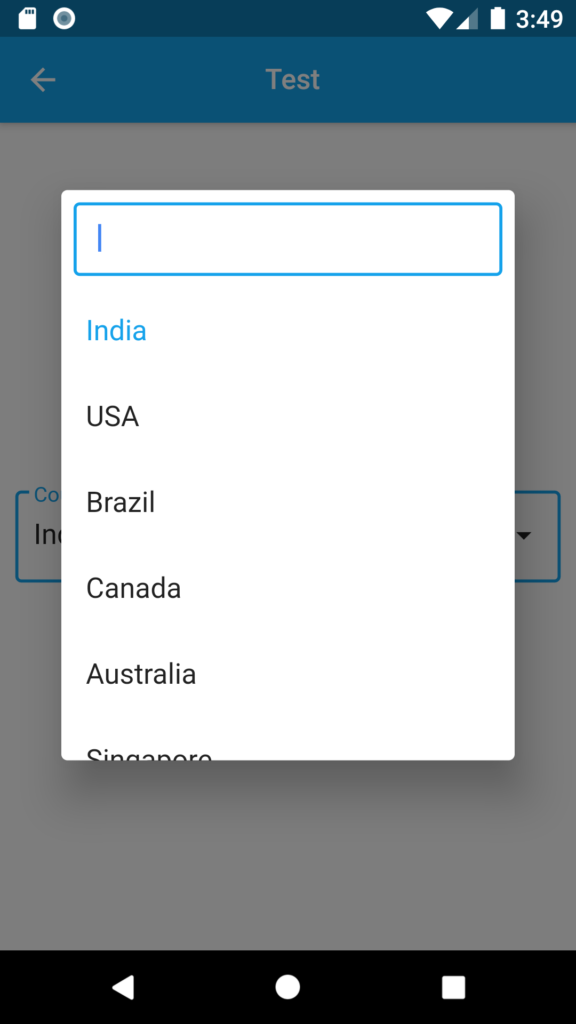
Input fields are the TextInput boxes which are used to take input from the user to perform some task. These are different types. You can learn more about TextInputField in flutter from here.
TextFormField(
  controller: userNameController,
),
2. InVisible Widgets In Flutter
Invisible Widgets are those Widgets which are not visible but controls the nested Widgets like Row(), Column, ScrollView() and many other Widgets. Some of them are below.
- Scaffold()
- Column()
- Row()
- Container()
- Align()
- Expanded()
- Position()
- ClipReact()
- Scrolling()
- FittedBox()
- SizedBox()
- Padding()
There are lot of more Widgets you can visit those from here.
Scaffold() Widget in Flutter With appBar
Scaffold is a root Widget which is used to create app and body of the screen. Using this Widget we can create a appBar with title text and icon. In the body section we can create the rest body part.
Scaffold(
  appBar: AppBar(title: Text("Title"),),
body : Container(
      child: Center(
           child : Text("This is body),
       )
    )
}
Column()
Column Widget is used when we want to add or nested the other Widgets in vertical position. Widgets are arranged top to below in this Widget.
Column(
  crossAxisAlignment: CrossAxisAlignment.start,
  children: [
    Text(
      "Title",
      style: TextStyle(
          fontSize: 18,
          color: Colors.black,
          fontWeight: FontWeight.w500,
          fontFamily: "Times_Roman"),
    ),
    Text("Descripton"),

    ElevatedButton(
      style: ElevatedButton.styleFrom(
          primary: Colors.green,
          shadowColor: Colors.black38,
          elevation: 10,
          textStyle:
          TextStyle(fontSize: 18, color: Colors.blue)),
      onLongPress: null,
      onPressed: null,
      child: Text(
        "Simple Elevated Button",
      ),
    ),


  ],
),
Styling The Flutter Widgets Inside The Column
To style the Widgets inside Column use the crossAlignment property in the following way.
crossAxisAlignment: CrossAxisAlignment.start,
Row()
Row Widgets in the flutter is same as the Column but the main difference is that it arrange the Widgets in the horizontal way inside it.
SingleChildScrollView() Widget in Flutter
To scroll the Widgets use SingleChildScrollView Widget. Nested all the Widgets inside it. This widgets should be root Widget.
Container In Flutter
Container is the block type Widget in flutter. It can take margin and padding around it. You can set background colour. Inside child property you can create another widget.
Container(
  color: Colors.green,
  margin: EdgeInsets.only(top: 10, right: 15),
  width: 200,
  child: Text("This is container"),
)
Alignment Widgets in Flutter
There are some alignment Widgets in Flutter which are use to align the Widgets you can use them as below.
Align()
To align the child Widget in left-right-top-bottom use in the following way.
Align(
  alignment: Alignment.topCenter,
  // alignment: Alignment.topRight,
  // alignment: Alignment.center,
  // alignment: Alignment.bottomRight,
  child: Text("Aligmenet"),
)
Positioned()
To arrange the Widget in according to position from sides use this Widget.
Positioned(
  top: 10.0,
  child: Icon(Icons.comment,
      size: 54.0, color: Colors.greenAccent[500]), //Icon
)
Thank you for visiting this tutorial hope this helped you. Please visit more flutter and android tutorial for better development skills.