In this tutorial we will learn how to create a Listview in Flutter with example. ListView used to show the multiple data one after another in scrolling format in flutter. We can create scrolling behaviour vertically or horizontal. By default its vertical scroll direction.
Types of ListView in Flutter
Mainly listview in flutter is of following types :
- ListView
- ListView.builder
- ListView.seperated
- ListView.custom
We will discuss all these types of listview one by one with examples.
1. ListView
This type of listview is used to show the small number of children. The default constructor takes a ListView<widget> of children.
List<String> items = <String>[
  "Jaipur",
  "Delhi",
  "Jodhpur",
  "Bikaner",
  "Mumbai"
];
 ListView(
  shrinkWrap: true,
  children: [
     Text("This is 1 item"),
     Text("This is 2 item"),
     Text("This is 3 item"),
     Text("This is 4 item"),
     Text("This is 5 item"),
     Text("This is 6 item"),
   ],
 ),
2. ListView.builder
The ListView.builder is used to show the long (infinite) list of children. It takes list in itemCount.
The ListView.builder is used to show the long (infinite) list of children. It takes a list in itemCount. itemBuilder is used to design the single row of the Listview. In the below example we created a hardcoded list where you can load the data from the server in this list.
 ListView.builder(
    shrinkWrap: true,
    itemCount: items.length,
    itemBuilder: (BuildContext context, int index) {
      return Container(
        color: Colors.blue,
        margin: EdgeInsets.all(10),
        padding: EdgeInsets.all(15),
        alignment: Alignment.center,
        child: Text(
          items[index],
          style: TextStyle(
            color: Colors.white,
            fontSize: 22,
          ),
        ),
      );
    }),
How to move to another class on listview item click in Listview.builder flutter
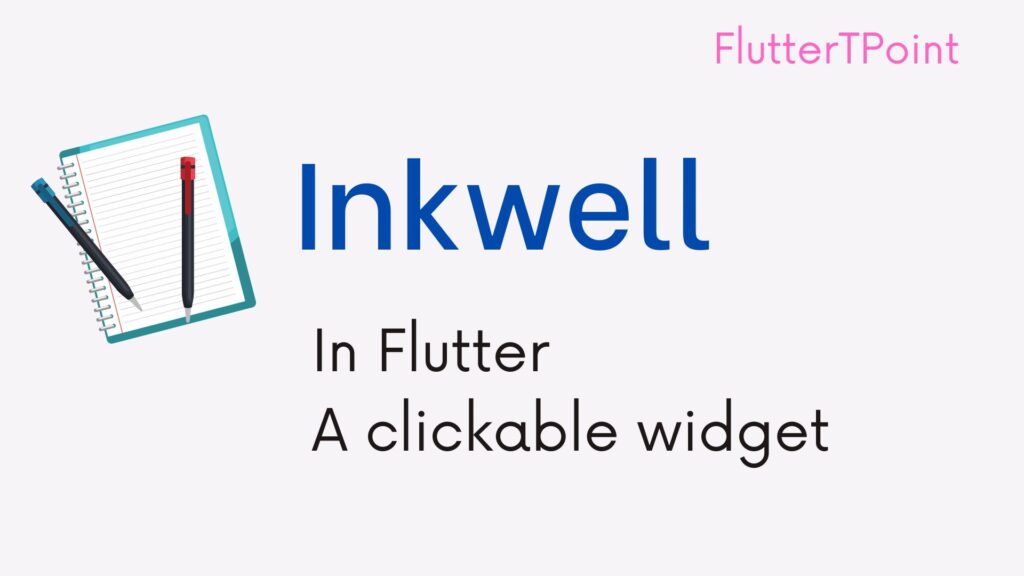
To call any class or function on a single row click, Wrap the itemBuilder component to the clickable widget like InkWell, GestureDeductor. If you are using InkWell then use onTap prebuilt function to call the class or function as below in am calling a function and printing the item value on which i am clicking.
itemBuilder: (BuildContext context, int index) {
  return InkWell(
    onTap: () => callList(items[index]),
    child: Container(
      color: Colors.blue,
      margin: EdgeInsets.all(10),
      padding: EdgeInsets.all(15),
      alignment: Alignment.center,
      child: Text(
        items[index],
        style: TextStyle(
          color: Colors.white,
          fontSize: 22,
        ),
      ),
    ),
  );
}

How to load API Data into ListView in Flutter
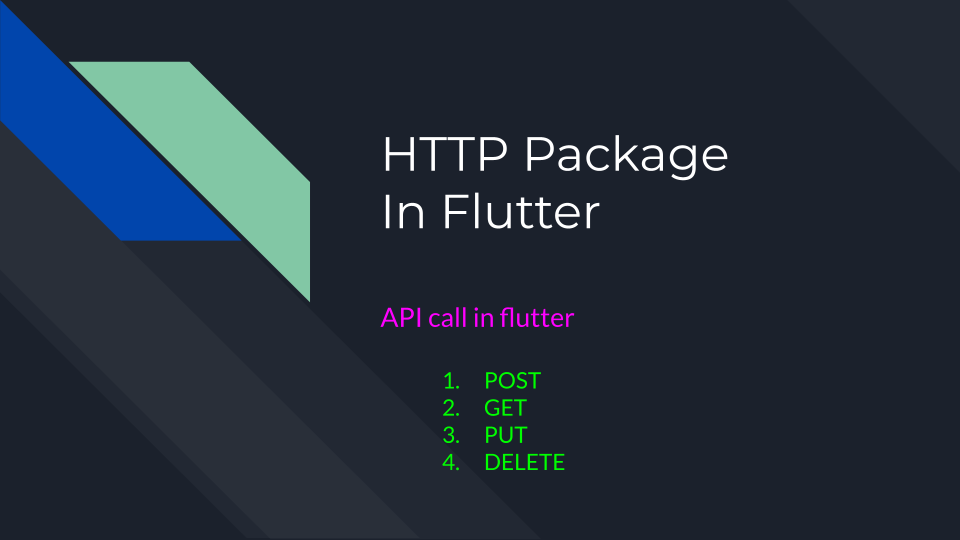
In the above example we loaded the hard coded list into ListView.builder. You can load the JSON API data into ListView.builder. In the following example we are going to call an API to load the JSON format list from the server and then set the listview data into flutter listview.builder. If you want to learn how to call an API in Flutter, You can learn it easily from here.
Calling JSON Array data in Flutter from API
There are different types of JSON data which we need to call accordingly in flutter. It can be direct key-value format, list format which could have objects or can be listed inside list. Or it can be in array format. We will cover the array or list format of JSON and will set in ListView in flutter.
To call an API you have to create a class that holds the API data. That class will be called MODEL or POJO class. We set the data into that model by calling an API. To use the data from that Model we have to create an object of that Model. We have the following format of JSON array.
{
total: 10,
website: “FlutterTPoint.com”,
data : [
{
name : “FlutterTPoint”,
id : 1,
},
{
name : “JavaTPoint”,
id : 2,
},
{
name : “HTMLTPoint”,
id : 3,
},
{
name : “DartTPoint”,
id : 4,
},
]
}
Here to receive this type JSON data, create two model class and copy paste the following code. Give name according to you.
Model classes
Model1
Below is the Model1 which will hold the non array data. I created another class named Model2. To store the array data, an object is created inside the Model1 class or Model2 class. It is like that -> List<Model2>.
 class Model1 {
  int total;
  String website;
  List<Model2> data;

  Model1(this.total, this.website, [this.data]);

  factory Model1.fromJson(dynamic json) {
    if (json['data'] != null) {
      var tagObjsJson = json['data'] as List;
      List<Model2> _tags = tagObjsJson
          .map((tagJson) => Model2.fromJson(tagJson))
          .toList();

      return Model1(
          json['total'] as int, json['website'], _tags);
    }
  }

  @override
  String toString() {
    return '{${this.total}, ${this.website}, ${this.data}}';
  }
 }
Model2
Create second Class and paste the following code.
 class Model2 {
  int id;
  String name;

  Model2(
      {this.id,
      this.name,
      });

  factory Model2.fromJson(Map<String, dynamic> json) {
    return Model2(
      id: json['id'] as int,
      name: json['name'],
    );
  }
 }
Import Following packages in your main class where your want to call an API
 import 'dart:convert';
 import 'package:http/http.dart' as http;
API call
Create an object of Model2 class globally.
 List<Model2> _list;

 String url = "Put Your URL here";
Creating Headers
You can skip the below header if you do not needed it, Also delete header from API call method
 final Map<String, String> headers = {
  "Content-type": "application/x-www-form-urlencoded",
  "api_key": "Header-key",
  "secret_key": "secret-key",
 };
I created a method in which I am calling the API. Call this method in initState(){}
 Future<Model1> getAccountList() async {
  Model1 _accountListModel;
  String user_id = "116";
  var bodyData = new Map<String, dynamic>();
  bodyData['user_id'] = user_id;

  var response = await http.post(
    url,
    headers: headers,
    body: bodyData,
  );

  if (response.statusCode == 200) {
    var res = json.decode(response.body);
    _accountListModel = Model1.fromJson(res);
    if (_accountListModel.success == 1) {
      var data = res["data"] as List;

      setState(() {
        _list = data
            .map<Model2>(
                (json) => Model2.fromJson(json))
            .toList();
      });
    }
  } else {
    //show toast here
  }
  return _accountListModel;
 }
In the above code you have to pass your main URL into -> url variable. If you do not require Headers you can delete it. Many API also needed to pass Headers for security reason.
I created a Future method and passed Model1. async and await are used to call the post method. The array list is saved into a Model2 object that is _list. Now I can use any data from the Arraylist and can set it to the listview widget in flutter.
Loading the API Arraylist data into ListView Flutter Widget
 Container(
  child: _list != null
      ? FutureBuilder(
          // future: ,
          builder: (context, snapshot) {
          return ListView.builder(
              itemCount: _list.length,
              shrinkWrap: true,
              primary: false,
              physics: NeverScrollableScrollPhysics(),
              itemBuilder: (ctx, int index) {
                return InkWell(
                  onTap: () => callList(items[index]),
                  child: Container(
                    color: Colors.blue,
                    margin: EdgeInsets.all(10),
                    padding: EdgeInsets.all(15),
                    alignment: Alignment.center,
                    child: Column(
                      children: [
                        Text(
                          _list[index].name,
                          style: TextStyle(
                            color: Colors.white,
                            fontSize: 22,
                          ),
                        ),
                        Text(
                          _list[index].id,
                          style: TextStyle(
                            color: Colors.white,
                            fontSize: 22,
                          ),
                        ),
                      ],
                    ),
                  ),
                );
              });
        })
      : Center(
          child: CircularProgressIndicator(),
        ),
 ),
Now the final code is below, We can fetch the data from _list by index and set it to the listview.builder. You can call the total and website key’s value by creating the Model1 object.
Full Example of ListView In Flutter By API call
import 'package:flutter/cupertino.dart';
import 'package:flutter/material.dart';
import 'dart:convert';
import 'package:http/http.dart' as http;

class HomePage extends StatefulWidget {
  @override
  _HomePageState createState() => _HomePageState();
}

class _HomePageState extends State<HomePage> {
  List<Model2> _list;
  Model1 _accountListModel;

  String url = "Put Your URL here";

  final Map<String, String> headers = {
    "Content-type": "application/x-www-form-urlencoded",
    "api_key": "Header-key",
    "secret_key": "secret-key",
  };

  @override
  void initState() {
    // TODO: implement initState
    super.initState();
    getAccountList();
  }

  @override
  Widget build(BuildContext context) {
    return Scaffold(
      appBar: AppBar(
        title: Text("Home Page Demo"),
      ),
      body: Container(
        padding: EdgeInsets.all(20),
        child: Column(
          children: [
            Text(
              _accountListModel.total,
              style: TextStyle(fontSize: 20),
            ),
            Text(
              _accountListModel.website,
              style: TextStyle(fontSize: 20),
            ),
            ListView.builder(
                shrinkWrap: true,
                itemCount: _list.length,
                itemBuilder: (BuildContext context, int index) {
                  return InkWell(
                    onTap: () => call(_list[index]),
                    child: Column(
                      children: [
                        Text(
                          _list[index].id,
                          style: TextStyle(
                            color: Colors.white,
                            fontSize: 22,
                          ),
                        ),
                        Container(
                          color: Colors.blue,
                          margin: EdgeInsets.all(10),
                          padding: EdgeInsets.all(15),
                          alignment: Alignment.center,
                          child: Text(
                            _list[index].name,
                            style: TextStyle(
                              color: Colors.white,
                              fontSize: 22,
                            ),
                          ),
                        ),
                      ],
                    ),
                  );
                }),
          ],
        ),
      ),
    );
  }

  Future<Model1> getAccountList() async {
    String user_id = "116";
    var bodyData = new Map<String, dynamic>();
    bodyData['user_id'] = user_id;

    var response = await http.post(
      url,
      headers: headers,
      body: bodyData,
    );

    if (response.statusCode == 200) {
      var res = json.decode(response.body);
      _accountListModel = Model1.fromJson(res);
      if (_accountListModel.success == 1) {
        var data = res["data"] as List;

        setState(() {
          _list = data.map<Model2>((json) => Model2.fromJson(json)).toList();
        });
      }
    } else {
      //show toast here
    }
    return _accountListModel;
  }

  //on tap function
 void call(String name){
    print(name);
 }
}

3. ListView.seperated
The ListView.seperated is suitable for fixed view and fixed children in flutter. itemBuilder build the child and separator builder build the separator between children.
 ListView.separated(
  itemCount: 5,
  shrinkWrap: true,
  //seperator
  separatorBuilder: (BuildContext context, int index) =>
      const Divider(),
  //single row builder
  itemBuilder: (BuildContext context, int index) {
    return ListTile(
      title: Text('This is $index item '),
    );
  },
 ),
4. ListView.custom
The ListView.custom constructor takes the SliverChildDelegate to build other aspects for its children. It provides the ability to additional customization for children.
Conclusion
Finally we created the Listview for hard coded data and for API ArrayList data. This is a demo real example so I used only minimum JSON data.
You can learn API calls for different JSON formats from here.
You can learn more Android and Flutter Tutorial to improve your development skills.


Pingback: https://canadianpharmaceuticalsonline.home.blog/