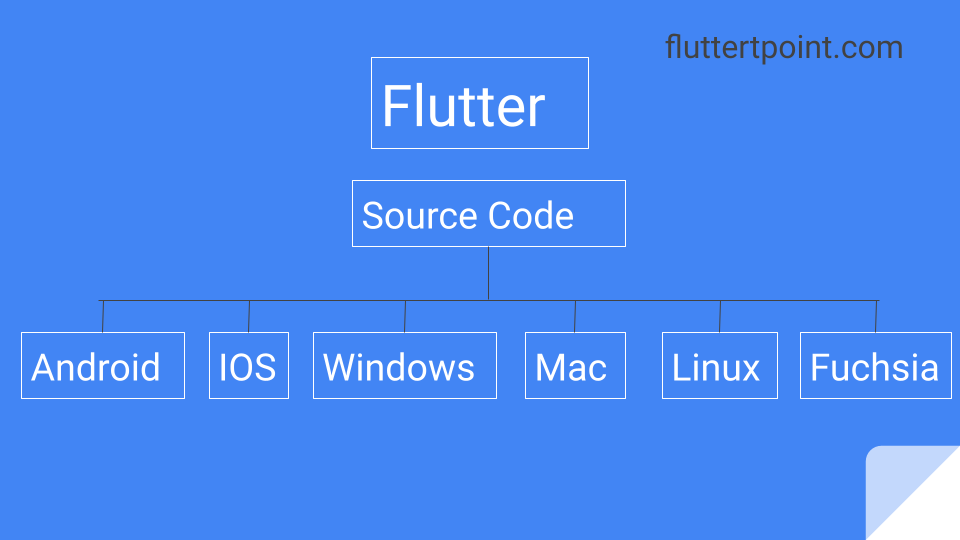
GetX is a simplified reactive state management solution in flutter. In this article we will learn about the getx in flutter, it is widely used library for state management. It is an extra-light and powerful solution in flutter. It combines high-performance State management, intelligent dependency injection and route-management quickly and practically.
GetX has three basic principles: PERFORMANCE, PRODUCTIVITY AND ORGANIZATION.
PERFORMANCE : GetX is focused on performance and minimum consumption of resources. GetX does not use Streams or ChangeNotifier.
PRODUCTIVITY : GetX uses an easy and pleasant syntax. No matter what you want to do, there is always an easier way with GetX. It will save hours of development and will provide the maximum performance your application can deliver.
ORGANIZATION: GetX allows the total decoupling of the View, presentation logic, business logic, dependency injection, and navigation. You do not need context to navigate between routes, so you are not dependent on the widget tree (visualization) for this. Also don’t need context to access your controllers/blocs through an inheritedWidget, so you completely decouple your presentation logic and business logic from your visualization layer. You do not need to inject your Controllers/Models/Blocs classes into your widget tree through MultiProviders. For this, GetX uses its own dependency injection feature, decoupling the DI from its view completely.
Installing
dependencies:
get: any
Import its library in the file in which you want to use.
import ‘package:get/get.dart’;
Example Using GetX in Flutter
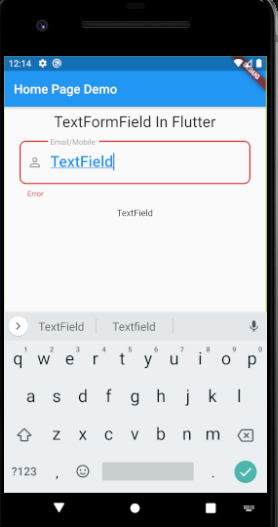
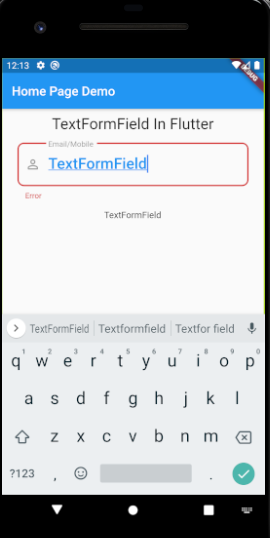
In the below we will create an simple app that have two widgets/screens. In the first widget we will create a TextFormField and the input value will be used in the Second widget using the GetX.
2. Create your business logic class and place all variables, methods and controllers inside it. You can make any variable observable using a simple “.obs”. We can simple say that the getter and setter methods are created here.
class Controller extends GetxController{
  var count = 0.obs;
  increment() => count++;
}
2. Create Your Widget to store and get the data from GetX Controller
Now use that Controller class where you want to update and get the values inside any widget.
class Home extends StatelessWidget {

  @override
  Widget build(context) {

    // Instantiate your class using Get.put() to make it available for all "child" routes there.
    final Controller c = Get.put(Controller());

    return Scaffold(
      // Use Obx(()=> to update Text() whenever count is changed.
      appBar: AppBar(title: Obx(() => Text("Clicks: ${c.count}"))),

      // Replace the 8 lines Navigator.push by a simple Get.to(). You don't need context
      body: Center(child: ElevatedButton(
              child: Text("Go to Other"), onPressed: () => Get.to(Other()))),
      floatingActionButton:
          FloatingActionButton(child: Icon(Icons.add), onPressed: c.increment));
  }
}

class Other extends StatelessWidget {
  // You can ask Get to find a Controller that is being used by another page and redirect you to it.
  final Controller c = Get.find();

  @override
  Widget build(context){
     // Access the updated count variable
     return Scaffold(body: Center(child: Text("${c.count}")));
  }
}
Thank you for visiting this tutorial on FlutterTPoint. For any doubt or comment you can comment in the comment section below.